Hey, it’s Michael from ZeroHour and today we’re looking at part 3 of our Logic Compressor series. Today I’ll be explaining ‘Make Up’ and ‘Auto Gain’ and how to use them when compressing audio.
Logic Compressor: Make Up Gain & Auto Gain Explained
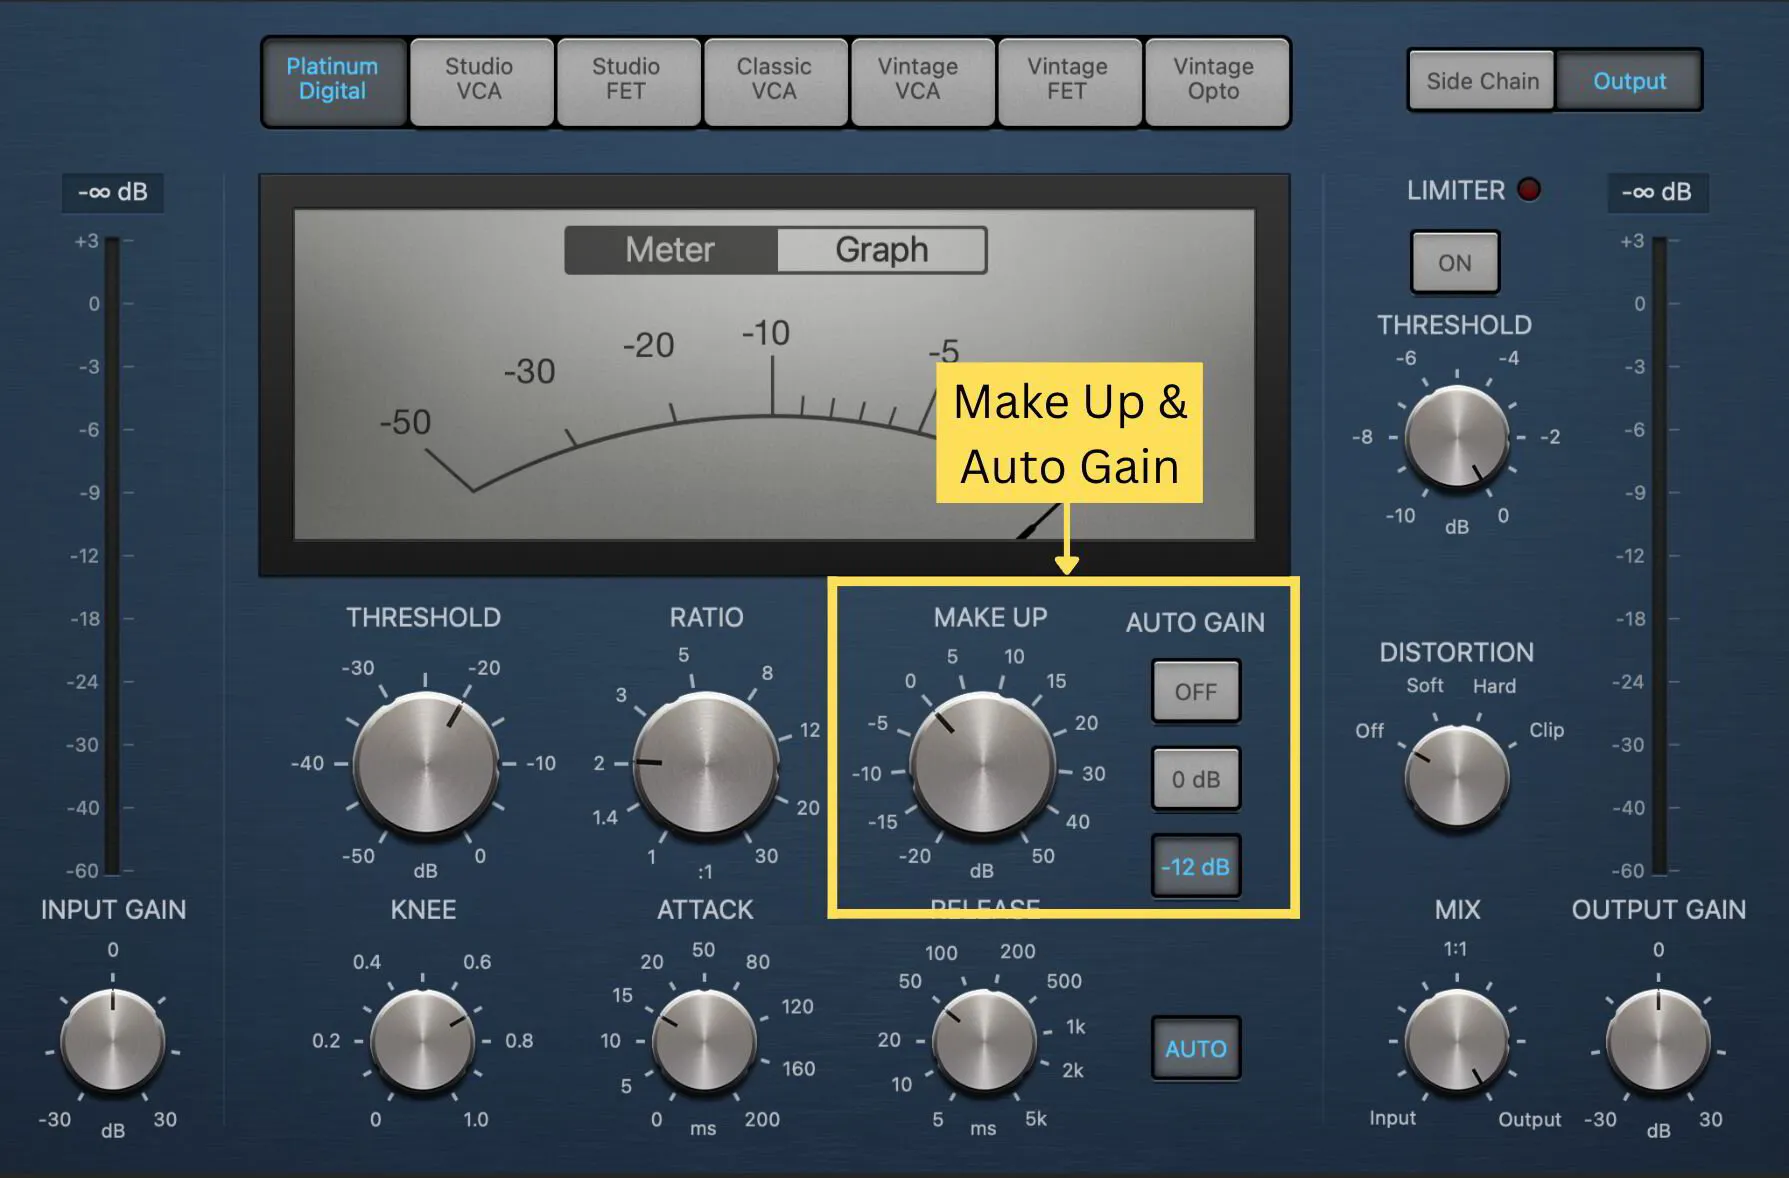
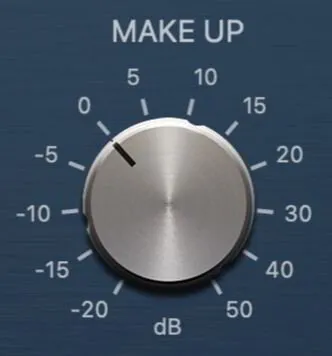
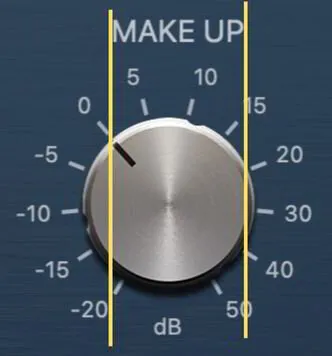
Make Up
‘Make Up’ is the shortened form of Make Up Gain. It is used to compensate for a loss of level that naturally occurs when using a compressor. Remember that compression reduces the audio level.
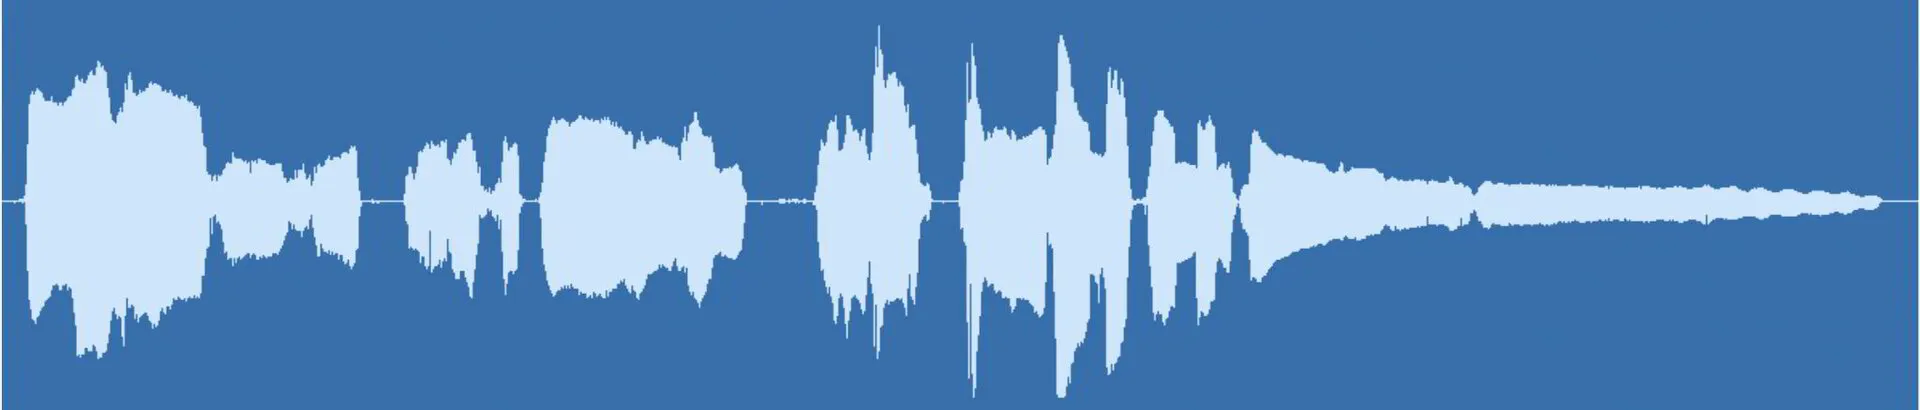
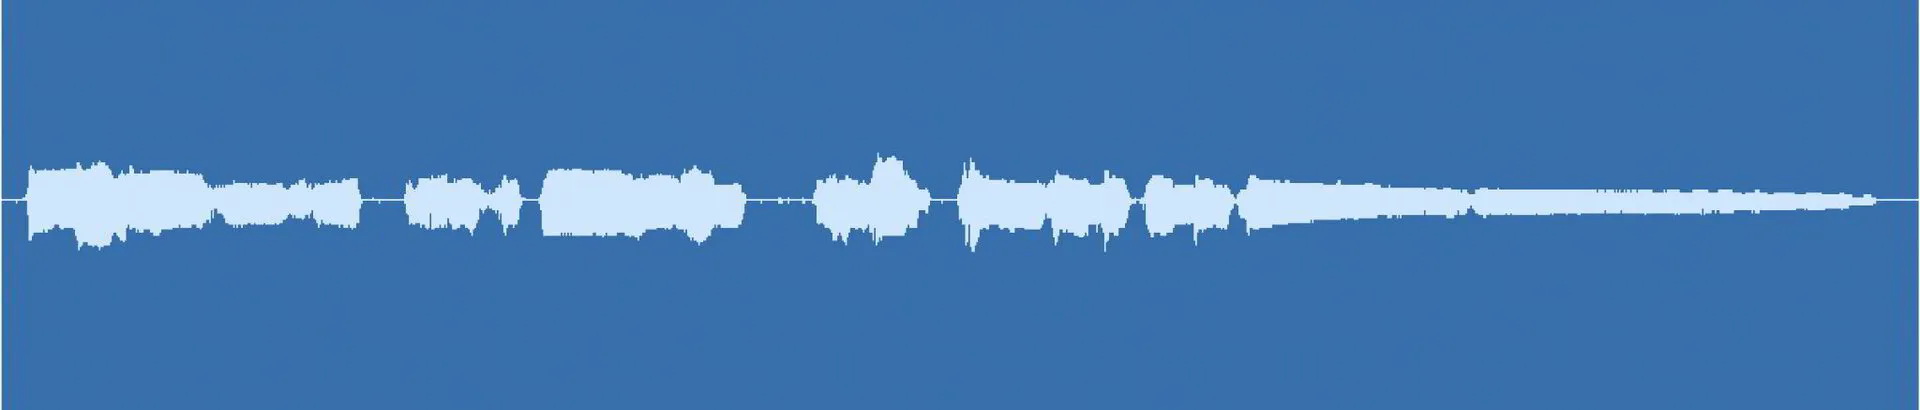
Before Compression
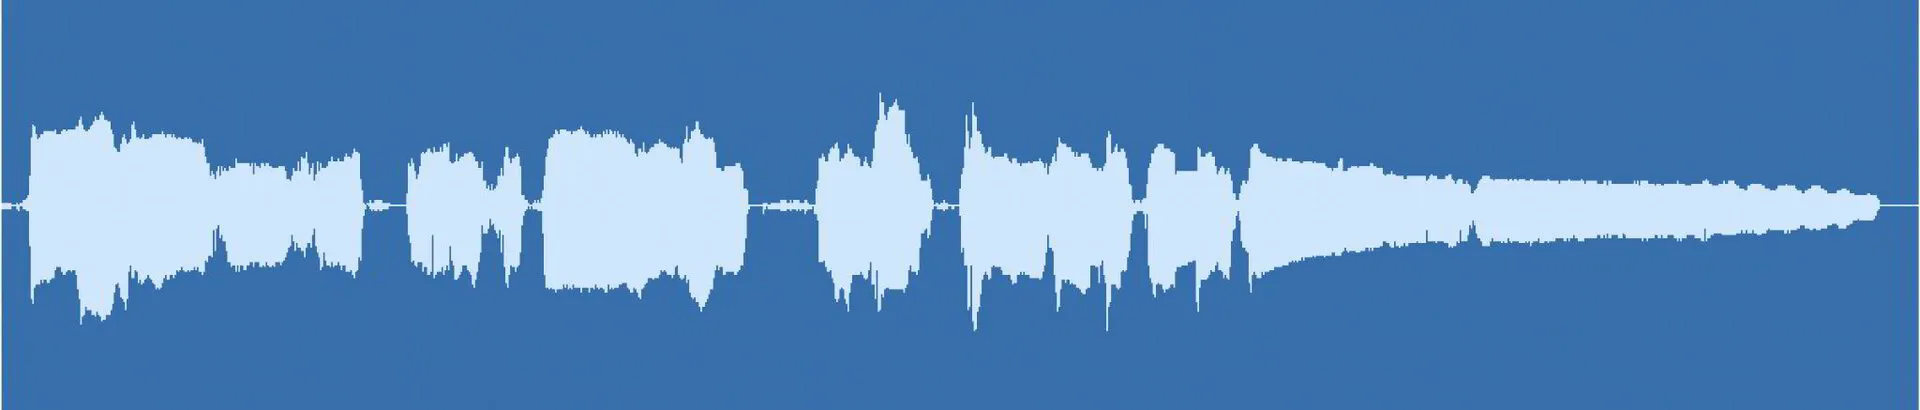
After Compression (No Make Up Gain Applied)
When using a compressor, you are reducing the dynamics of an audio signal by decreasing the level of the louder parts of the signal, therefore without applying make-up gain the resulting audio signal will be quieter than the original.
Make up Gain = Gain Loss Compensation
Before Compression
After Compression (Make Up Gain Applied)
Use the ‘Make Up’ control to boost the gain so that the audio feels the same level before and after the compression has been applied. This makes for good gain staging and A/B comparison.
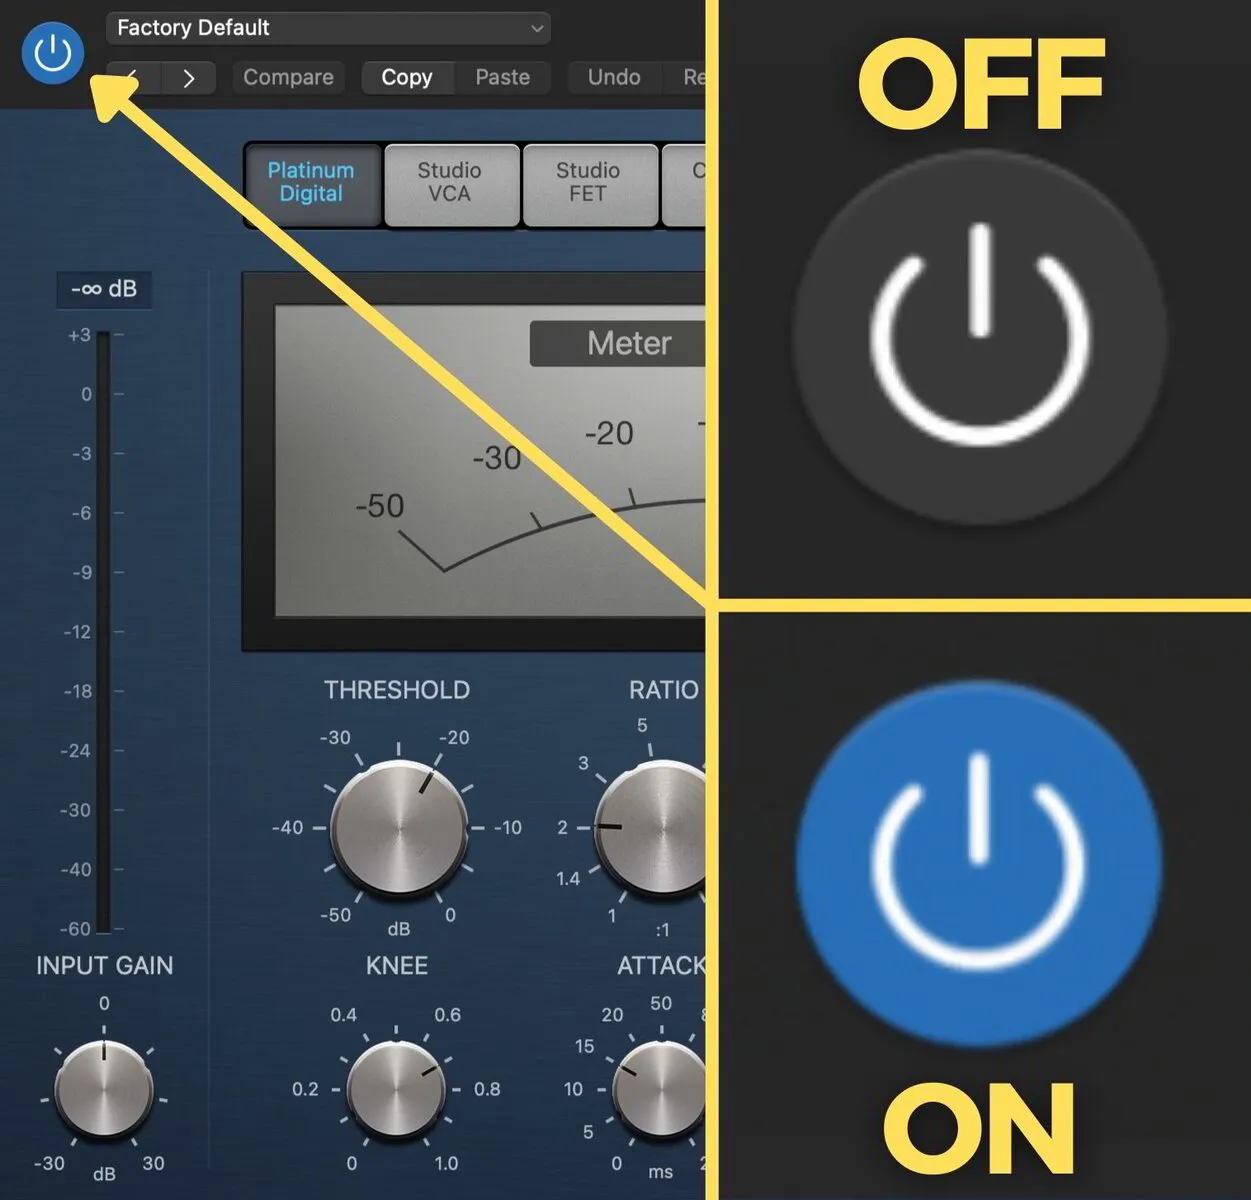
A/B comparison is simply hearing the audio before and after processing. In this case, before and after compression. You can turn the compressor on and off with the bypass button.
P.s. Was anyone else deeply offended that this wasn't lined up properly?
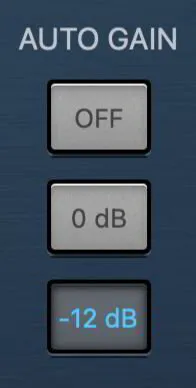
Auto Gain
In addition to Make Up Gain, there’s a function called Auto Gain. Auto Gain automatically adjusts the gain in order to compensate for loss of level as a result of the compression.
Auto Gain = Automatic Gain Loss Compensation
To determine the amount of gain compensation applied, Auto Gain takes into consideration 3 things: the reference level, threshold level and the ratio. The reference level is nothing to do with the audio signal coming in but solely determined by one of 2 settings. On Logic Compressor you can choose a reference level of 0dB or -12dB. The 0dB and -12dB setting tells the Auto Gain what input level it’s basing its calculations on. And just to clarify, the Auto Gain compensation is entirely based on your settings and not the audio level coming into the compressor.
The reason -12dB is one of the options is that -12dB is considered the standard recording level and a lot of plugins are optimised to process audio at this level. This is mostly true for plugins emulating analog hardware.
Let me break Auto Gain down a little further…
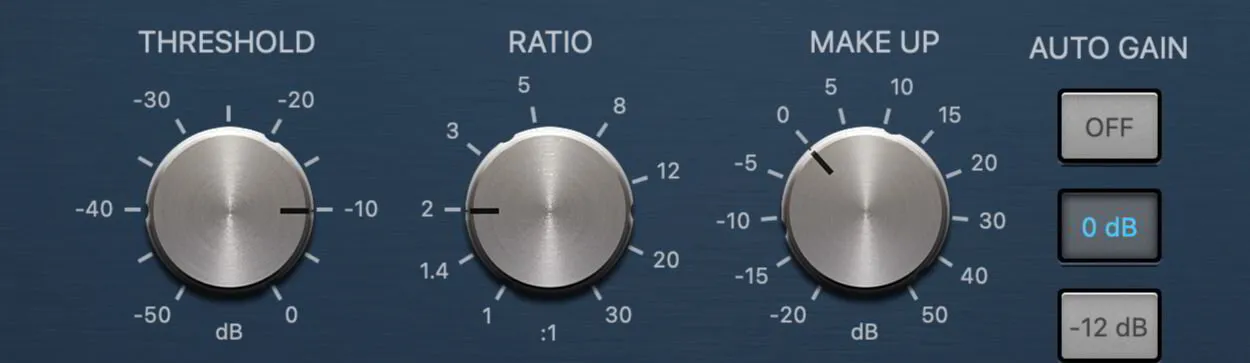
Let’s say you have the auto gain set to 0dB, the threshold set to -10dB and the ratio set to 2:1.
Let’s work out how much auto gain would be applied. Remember, that the calculation of gain compensation is based on an audio signal coming in at 0dB, i.e. maximum level. Even if that’s not actually the case, this is how the calculation is applied. So in this case, at a 2:1 ratio, 10dB exceeding the threshold would have a total gain reduction of 5dB. This means that Auto Gain will apply +5dB of gain compensation to the signal. Remember that the auto gain is not basing any of its gain compensation on the audio it’s receiving but instead the reference level (in this example that’s 0dB), threshold and ratio settings. So if your audio never exceeds the threshold, i.e. it’s coming in lower than -10dB, then it would still receive a boost of 5dB.
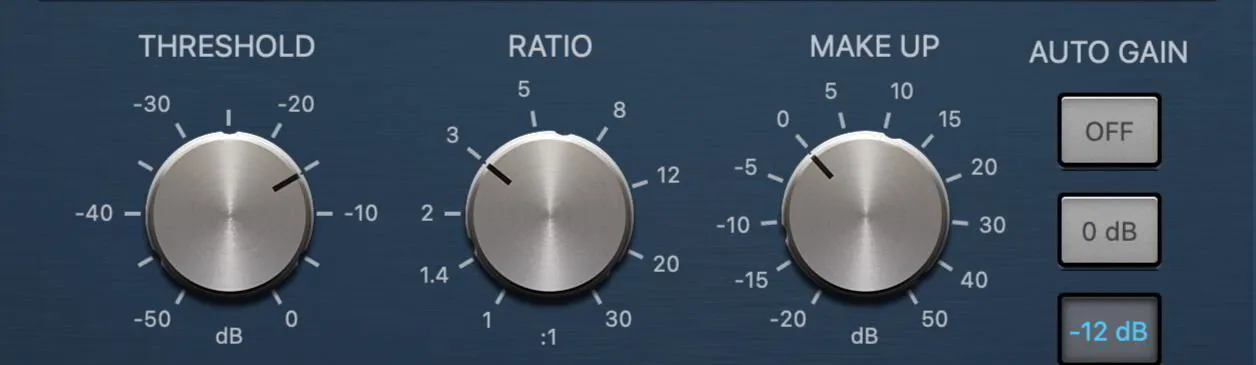
We’ll do one more example but with a -12dB Auto Gain setting (reference level). Say you have the threshold set to -15dB and the ratio set at 3:1.
The auto gain will ignore the threshold until it goes below -12dB as that is the setting it has been told to base its calculations on. So for this example an audio signal coming in at -12dB would exceed the threshold by 3dB and be reduced by 2dB due to the 3:1 ratio. Therefore +2dB of gain increase would be applied.
If you choose to use auto gain I suggest setting it to -12dB, as this fits in with recorded level benchmarks. Unless your audio is exceptionally loud and averages at close to 0dB on your fader. Look at your metering to determine which one is best for your audio. And of course you can use the regular Make Up control to make further adjustments alongside auto gain.
Final Thoughts
As I mentioned in previous posts, compression takes time to learn and the best way to learn is to experiment. I hope you’re able to implement what you’ve learned so far. But there’s we’ve still some more to go. Keep an eye out for our next post where we’ll cover the attack and release setting and how it affects how compression is applied.
If you have any thoughts, comments or tips of your own don’t hesitate to get in touch. Learning is made better together. Thanks for reading.
FREE DOWNLOAD
What You Get
Logic Pro X Shortcuts & Tools For A Faster Workflow