Hey, it’s Michael from ZeroHour and today we’re looking at part 4 of our Logic Compressor series.
Today I’ll be discussing the attack and release setting and how it affects audio going through a compressor.
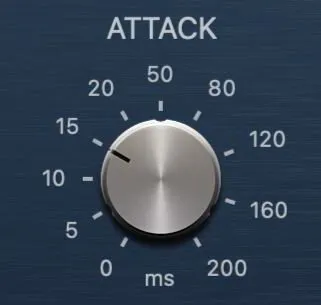
Attack Explained
Attack is measured in milliseconds normally but can be microseconds for faster, more aggressive compression. On a compressor, the attack value is the time it takes for compression to be applied once the signal exceeds the threshold.
Attack Time = The time it takes for the compressor to reach 2/3rds of the target gain reduction.
So if 6dB exceeds the threshold at a ratio of 2:1, then the target gain reduction is 3dB. This means the attack time is the time it takes for the compressor to reduce the gain of this signal by 2dB. So if the attack time is set to 2ms, then it will take 2ms for a gain reduction of 2dB to be applied.
Remember that the gain reduction is determined by the threshold and ratio settings. You can check out our post explaining this here.
Attack is a tool that allows you to control the amount of transients that pass through a compressor. It can drastically change how a compressed signal sounds.
Use this as a basic guideline:
Transient Sounds
If you want more transients - set a slower attack
If you want fewer transients - set a faster attack
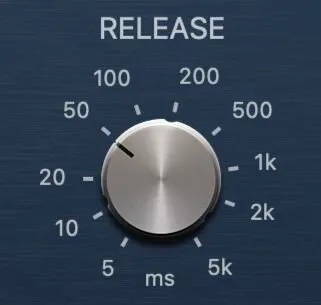
Release Explained
The release value is the speed at which a compressor stops compressing after it falls below the threshold level.
Release Time = The time it takes for the compressor to recover 2/3rds of the gain that was reduced
Release time can go from 1ms (milliseconds) all the way up to 5s (seconds) depending on the compressor. On Logic Compressor this goes from 5ms to 5s. You’ll notice a lot of famous and/or vintage compressors put arbitrary values for release so that you can focus on how it sounds rather than the actual time.
For example an 1176 goes from 1 - 7, where 7 is the fastest setting. And a Distressor can go from 0 - 10 where 10 is the slowest. Pay less attention to the number of milliseconds represented here and focus more on how it sounds.
Here are some guidelines for how release times affect an audio signal:
Fast Release
Pros
Can sound more natural and less compressed
Can increase the perceived loudness
Can maintain dynamics of percussive elements
Cons
Can sound gritty and aggressive when used at high ratios
Can cause unwanted pumping
Slow Release
Pros
Can Smooth the Dynamics
Can Add More Sustain
Cons
Can reduce the dynamics of percussive elements
Can make the audio sound dull & flat
So roughly speaking:
Fast Release = Increased Intensity Slow Release = Increased Smoothness
Keep in mind, this is a generalisation.
The reality is that the release setting is crucial to determining how compression sounds on an audio source.
Setting Release Times To Fit Your Track
When you’re setting release times, something you want to do is to set your release times musically. Don’t just use presets or settings based on what worked for someone else. Each part and song will be different and will need a different setting. While presets are a good jumping-off point, always listen to your music and make adjustments based on what you’re hearing.
So, listen to the release speed within the tempo of the song instead of using a preset.
As a general rule:
Faster release suits a more up tempo aggressive track
Slower release suits slower, smoother songs
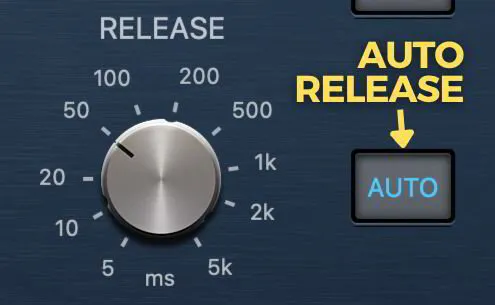
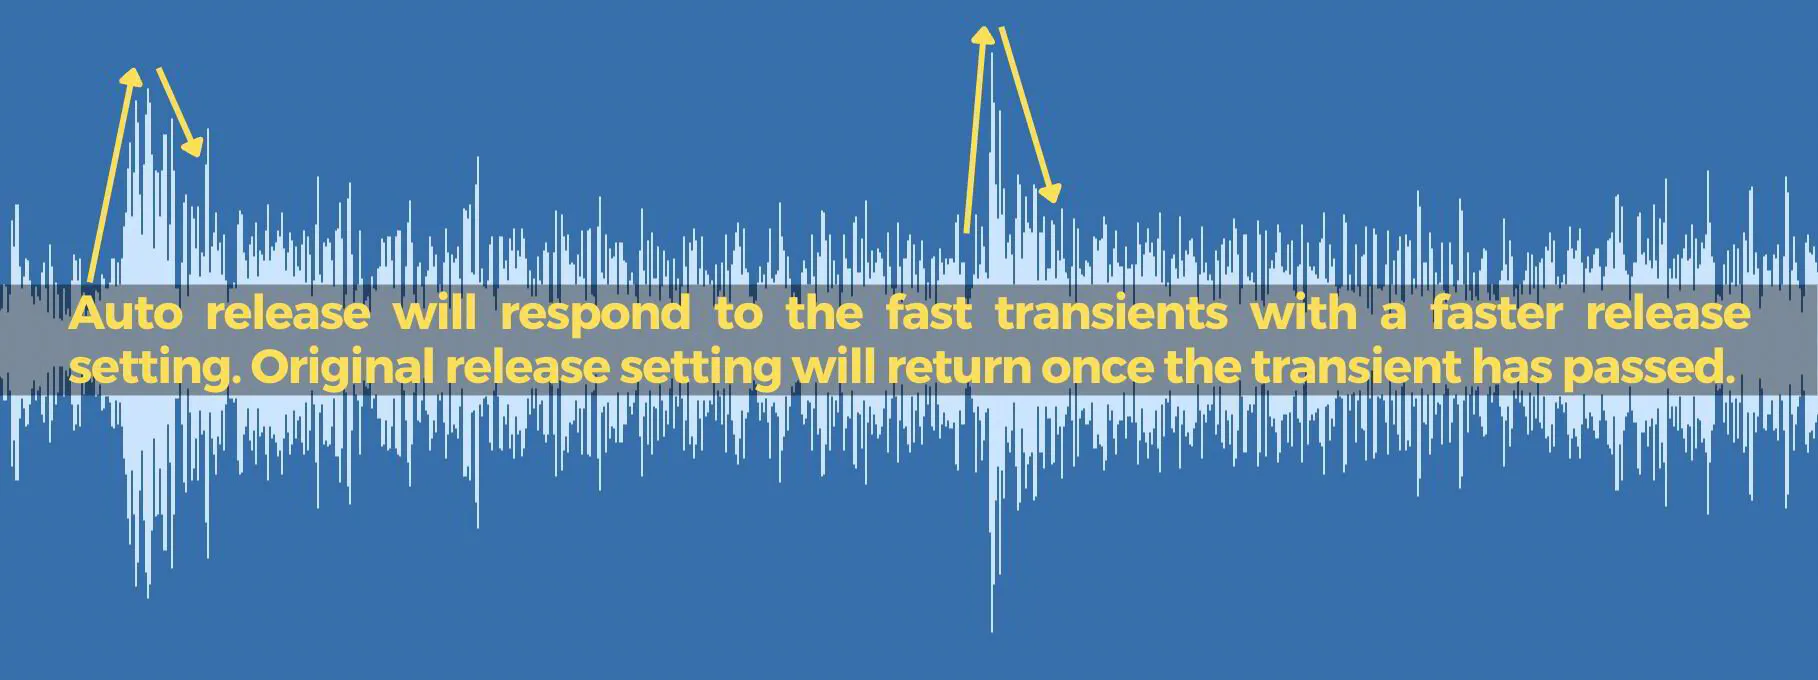
Auto Release Explained
The auto button beside the release control is a function in Logic’s compressor called ‘auto release’. This control tells the compressor to adjust the release time dynamically to the audio material. The purpose of auto release is to get a more transparent sound when compressing material with big peaks and long sustained sounds in the same material. For example, compressing the overall mix.
Brief and loud peaks will be compressed with a faster release while less transient audio will be compressed with a slower release. In the context of compressing a final mix where drum transients tend to push through strongly, the release time adapts to these faster drum impacts while being slower for the longer lasting parts.
This feature works in conjunction with your release value so isn’t a direct substitute for setting your release settings but rather will adapt by going faster or slower than your set release time set depending on the type of audio material it is receiving.
Final Thoughts
As you’ve seen, the attack and release settings are key when it comes to adjusting the transient nature of an audio file. It affects how the compressor is applied to the audio (unlike the threshold and ratio settings that affect the amount go compression applied).
Spend some time adjusting these settings and see how it affects your audio. Hearing the difference as you experiment with these settings will give you a more attuned ear and will benefit your mixes in the long term. There’ll be more to learn and implement in our next instalment of the series where we’ll cover the compressor knee and the metering within Logic’s compressor.
If you have any thoughts, comments or tips of your own don’t hesitate to get in touch. Learning is made better together. Thanks for reading.
FREE DOWNLOAD
What You Get
Logic Pro X Shortcuts & Tools For A Faster Workflow